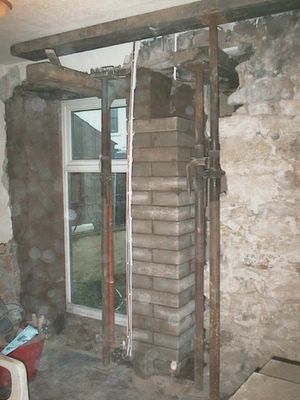
And here is the finished second pillar. Both pillars will set over the weekend and next week John will place metal lintels at a height just over the oak beam over the old doorway that you can see in the photo. He will then cut out that part of the oak beam that will be over the new opening.

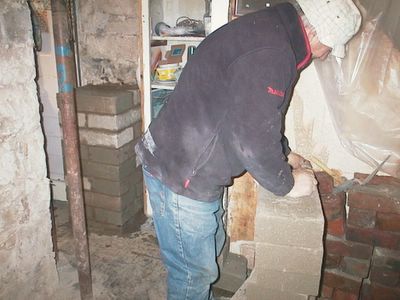
This is John working on cutting blocks - you can see the morning's work so far behind him - on the second pillar.
These are some of the remaining blocks that John is using today to build the pillar on the other side. This was taken on Friday morning before John and Matt arrived.

This is the crate around the stove plus the Flue pipe that came with it - I will leave it unopened until I return from Germany, I think - too much to do before I go on Sunday.

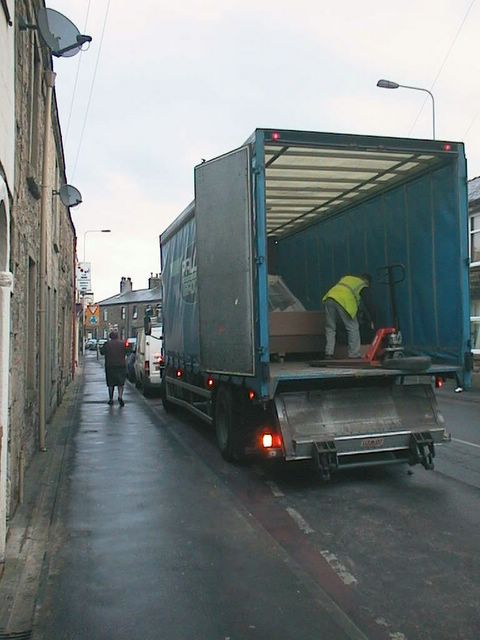
Before John and Matt arrived my wood-burning (and coal) stove arrived ... in a very large truck .. for a relatively small item. The driver was from Liverpool and liked my Beatle poster.
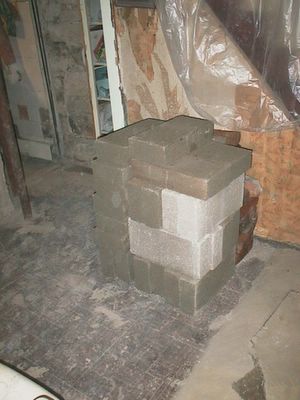
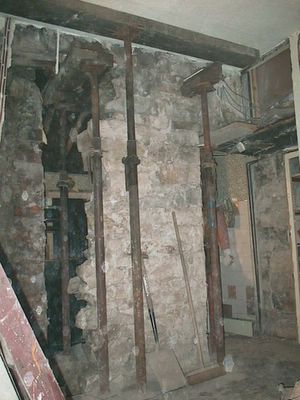
This is the first pillar completed by John on the Thursday using concrete blocks - it is very strong.
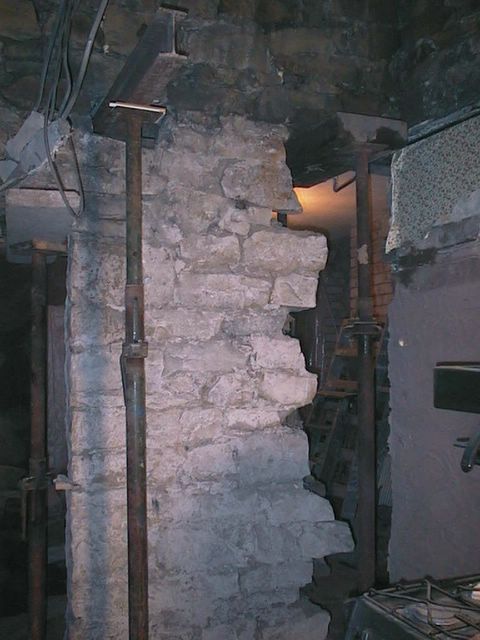
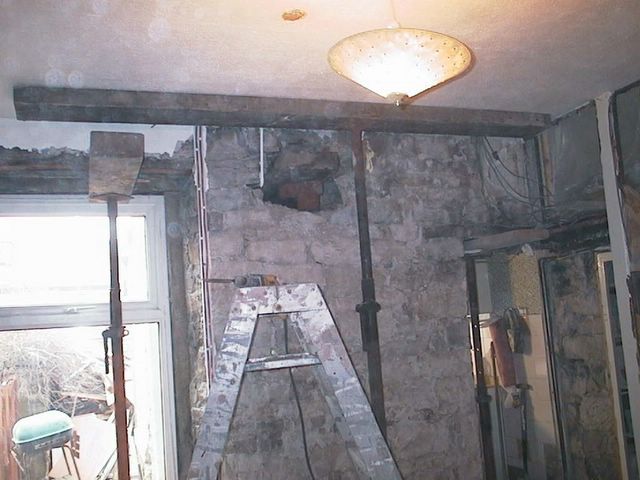
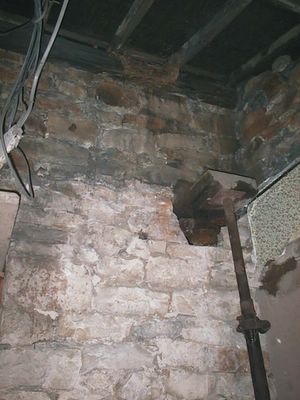
This is the hole in the wall from the kitchen - so I can see the living room. You can see the ACRO supporting the new metal 'pin'
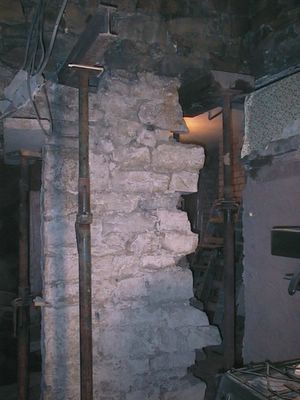
John also cleared out the stones under the window. He intends to incorporate a steel lintel in the concrete to strengthen both pillars on either side of the window.

Here are the stones that were taken out so far. John will probably use some of them to rebuild a more sturdy pillar in combination with bricks or concrete blocks.
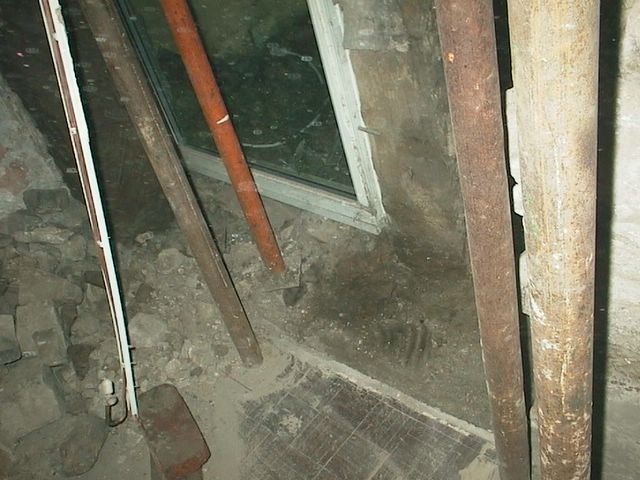
Day 3 was taken slowly. Another 'pin' was put in position (on the right) and then the heavy sandstones in the wall where the pillar on the left is going to be were taken out - so the kitchen can now be seen through the wall.
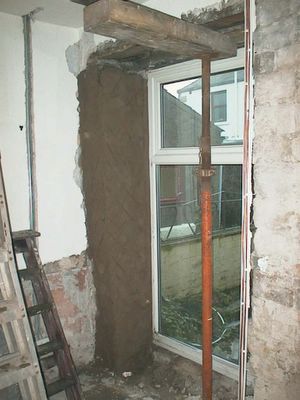
Finally, John reinforced the stone work at the far side of the window and rough plastered it in anticipation of a separate metal lintel being put over the window for extra insurance on supporting the wall.

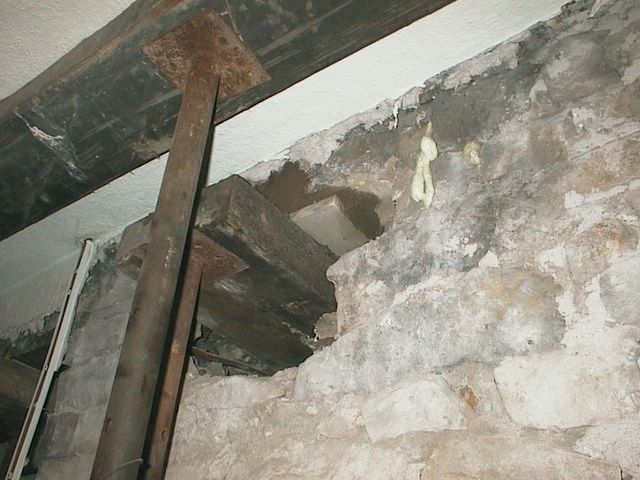
John then used wooden beams in the hole, which he concreted in on both sides and then supported the 'pin' with a an metal ACRO
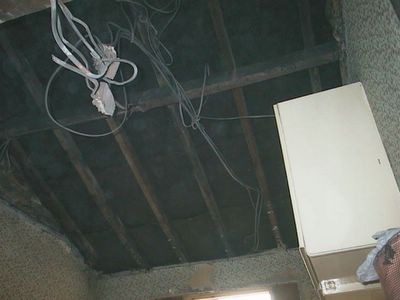
He did the same with an ACRO on the kitchen side of the wall. Tomorrow her will put 2 more pins in the wall. You can also see the very old remains of a wasps' nest at the top of the wall on the ceiling line.

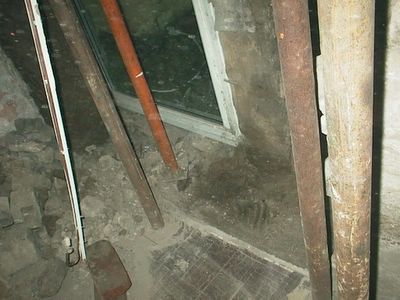
This is the start of the 'pinning' process - the ceiling is supported as are the oak lintels over the window and door. The a hole has been knocked through for the first 'pin'
This is the house wall side of the kitchen. You can see the line of stone where the original ceiling came and the slope of the roof.
This is the same view with all the kitchen ceiling down.

Start of Day 2 - by taking down the ceiling in the kitchen .. it was wooden boards (painted by Denise and myself nearly 3 years ago maybe) over a regular ceiling, but with no insulation.
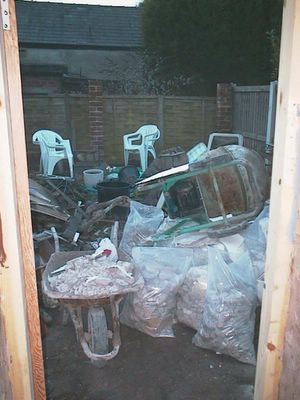
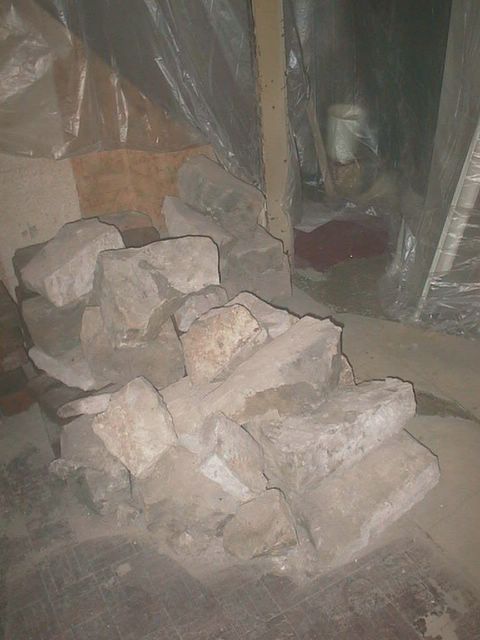
And finally on day One - the rubbish generated. Matt did say we should rent a skip but John wants the rubble for a driveway he is building (hence the big plastic bags) and I want the wood for the stove when it comes - and I can use the stones in the wall at the back and as a base for the study that is going on the side of the kitchen - so it all has a use eventually. Anything not used I will take to the tip in the Spring.
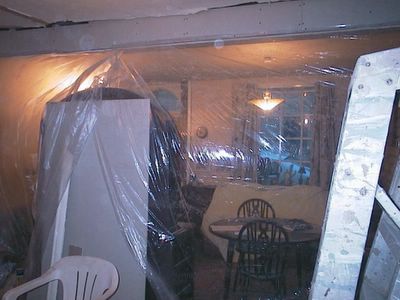
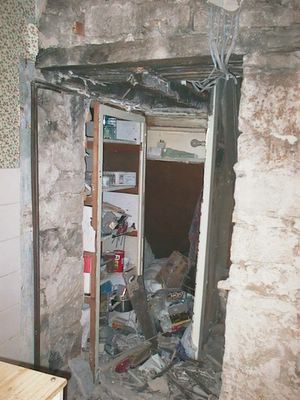
This my 'bubble' - where I can still watch TV and eat and stay warm - as the radiators are there. Actually, I am Blogging this upstairs in my bedroom - one of the benefits of wireless broadband.

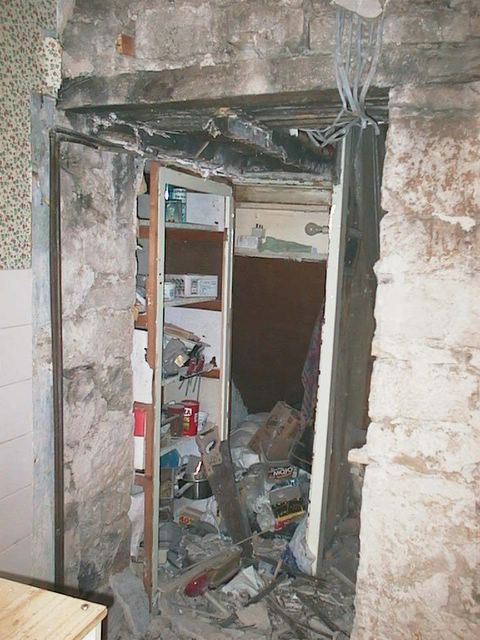
This is the view from the other side after all the plaster had been removed and bagged - ready for work in the morning.
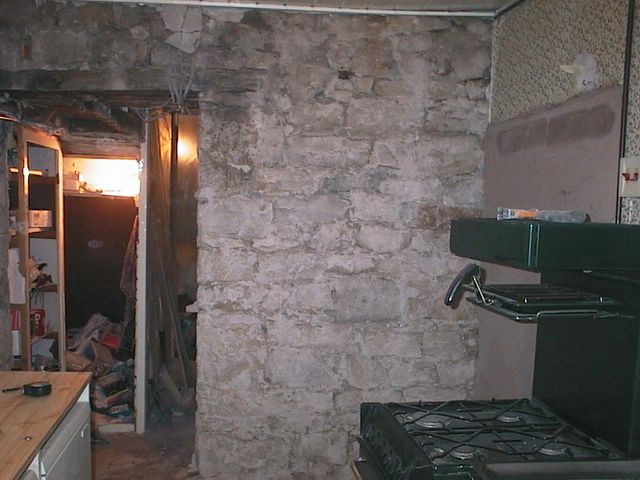
This is a view of the wall from the kitchen side now that the dust has settled.

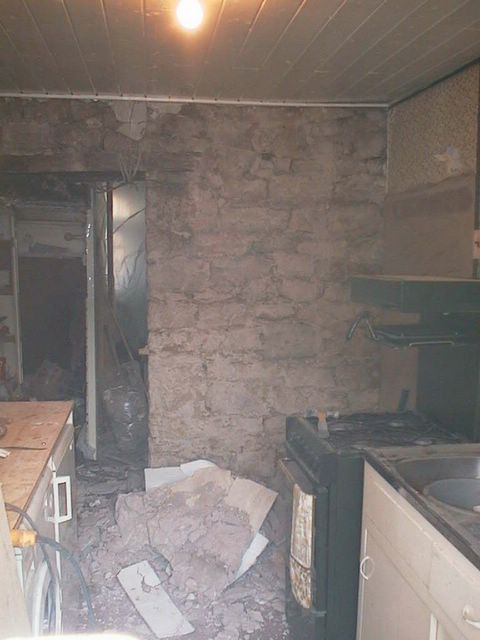
This is the kitchen after the plaster had been taken off the the wall from this side. It is all on the floor.
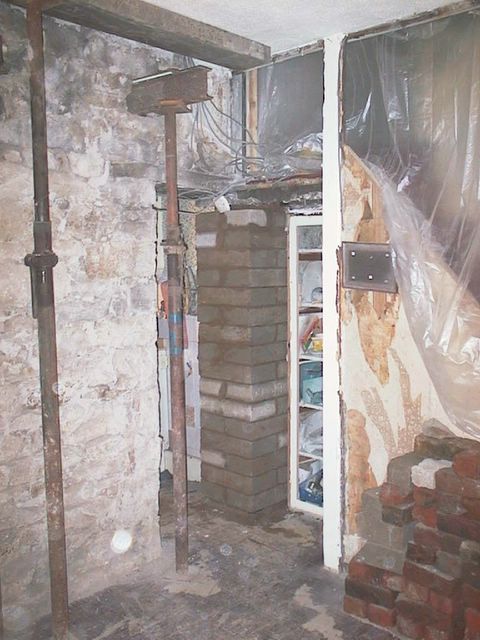
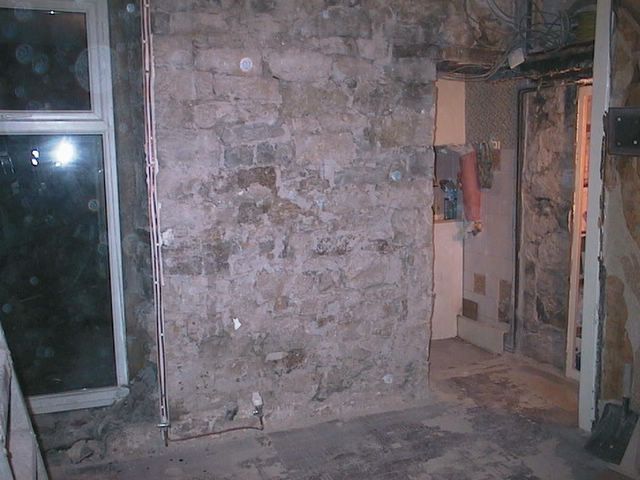
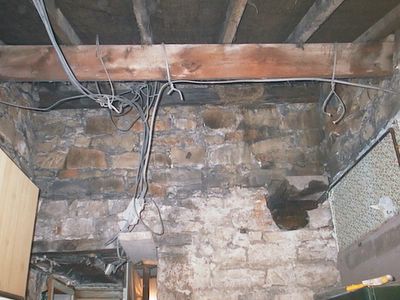
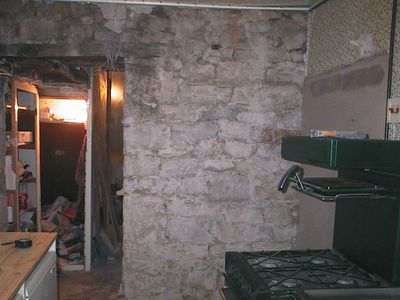
The dust is settling now - so this is a clearer view of the old doorway. You can see the water pipes on the left - and the old wooden beams across the doorway and the electrical cables that were under the plaster.
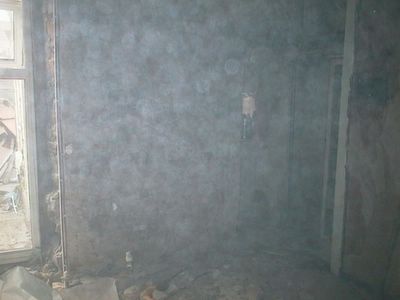
This is the main interior wall after the plaster had been removed. There was dust everywhere - hence the hazy image - but it gives a sense of the mess :)
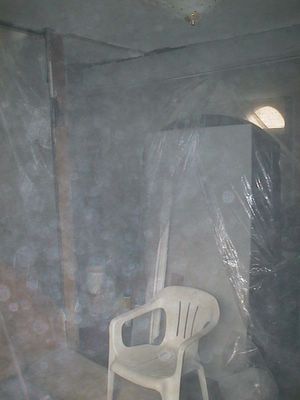
I had surrounded the work area (actually the old back room) with clear plastic sheets to minimize dust - and keep the front area warm - as the back is now open i.e. no door to close to the cold kitchen and the radiator is off the wall (as shown earlier).