This is what it looks like now .. with the depth kept so that I can use the space for bookshelves when this area in enclosed by a lean-to conservatory - which will become my study.

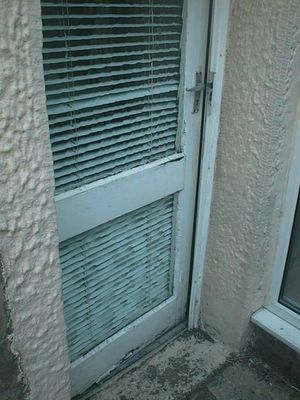
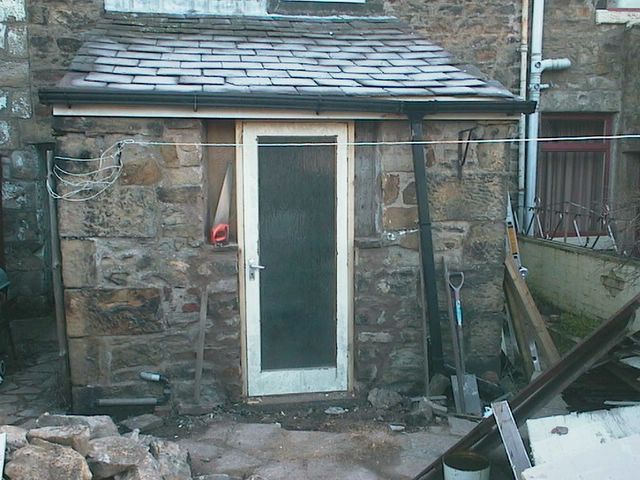
This is what the door looked like from outside ...

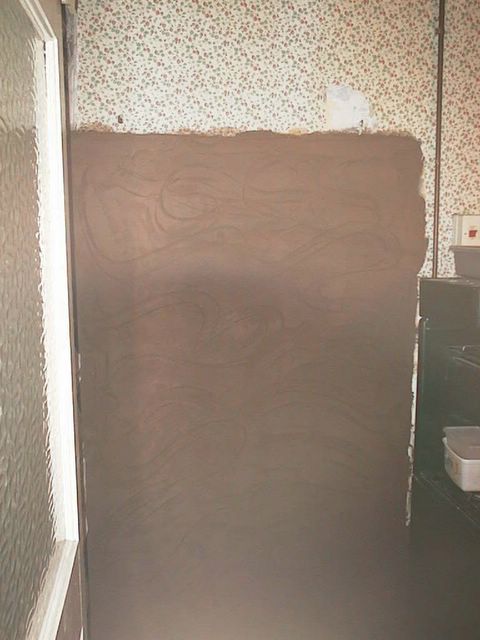
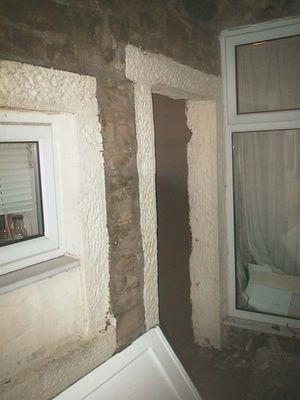
This is another view of the bricked-up doorway...
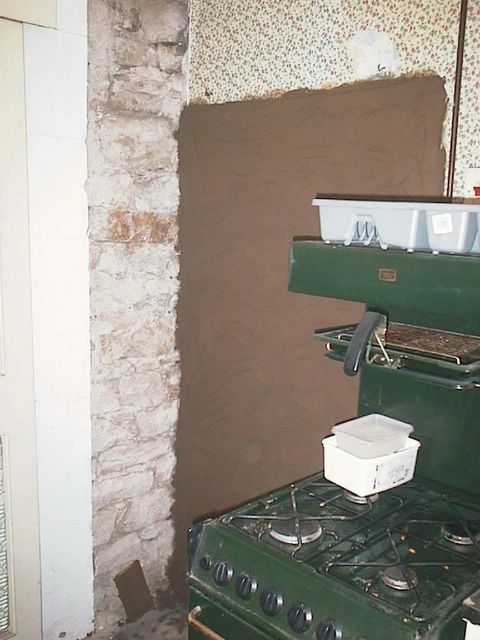
This is the door space now ... bricked up and then rough plastered over...
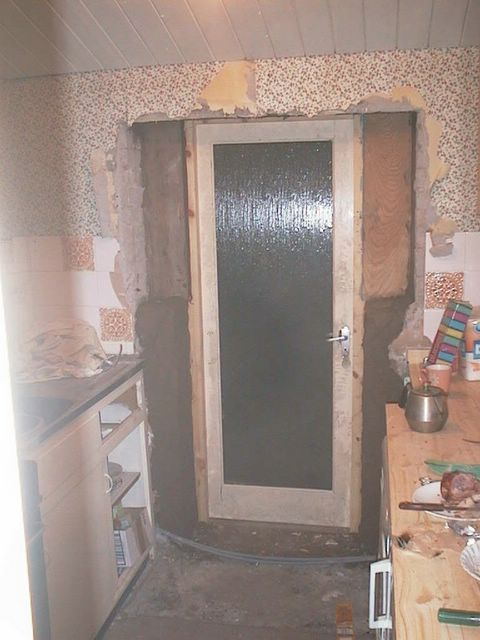
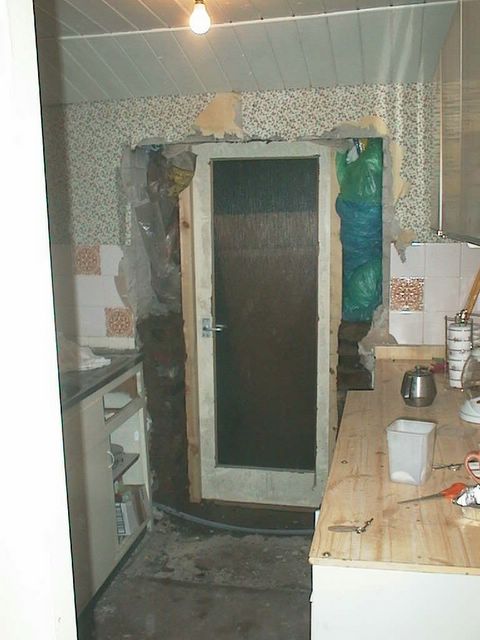
This is the old kitchen door as seen from the inside...

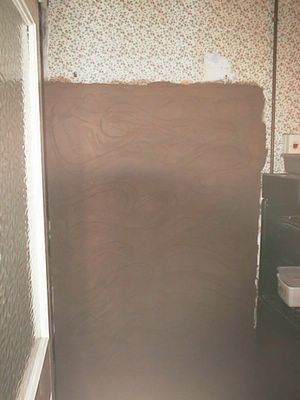
This is the door from the inside. The lower sides of the opening have been rough plastered in sand and cement. I will paint the frame over Xmas and fit the windows. I will leave the plastering over the rough plaster until I decide what to do with the door. I may get a quote for a wider door and a frame which covers the whole of the opening. But for now it will do. The lesson is: be clear and firm about what you want before things start.
This is the correctly hung door - opens the right way (out and to the left) - and the handle, lock and key moved from the original door. Neville had to take some off the top of the door and lower the frame so that it would open without banging against the white facia board.
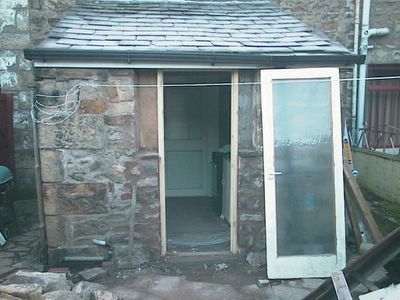
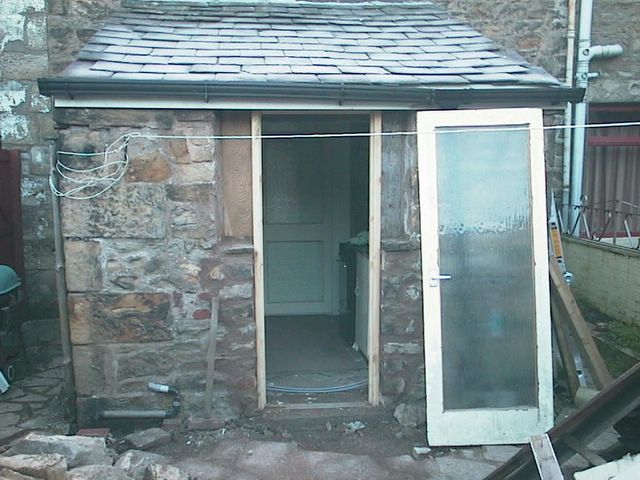
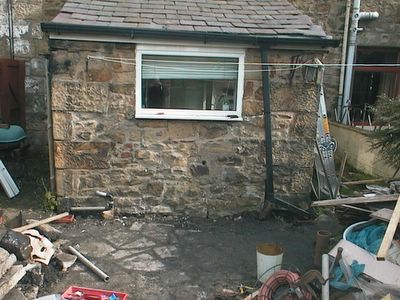
This is the outside wall after John had built up the stones on either side of the door and put wooden sheets where the windows on either side will eventually be.

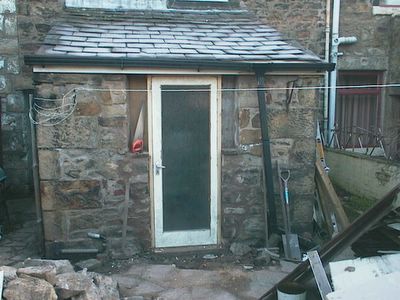
The door is only 29" wide .. I really wanted a 30" or, better still, 32" with more glass space ... but I was too preoccupied with getting off to work to appreciate the consequences. This is the door in place (but not hung) with poythene sheets in place where the narrow side windows will eventually be..

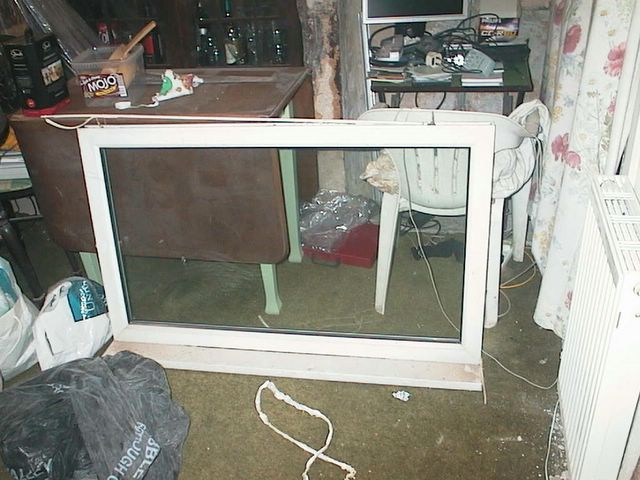
This is the window after it had been taken out of the wall in the kitchen... I hope to use it in the wall on the stairs to give more light there.
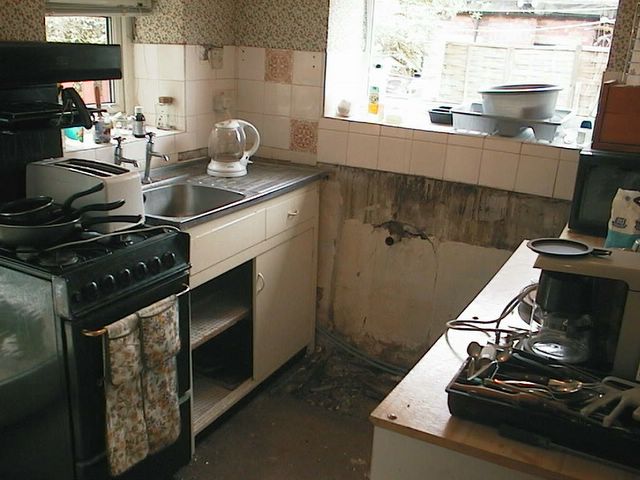
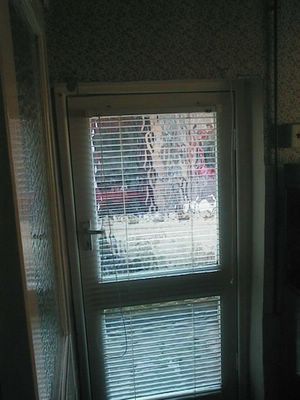
.. and this is what it looked like in the kitchen .. with the sink having been moved from under the window earlier in the year..
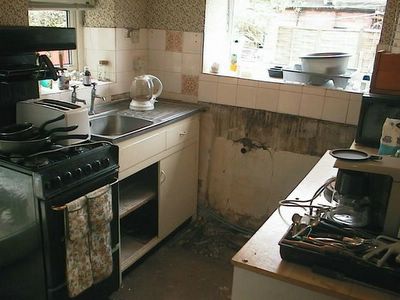
This is what the kitchen looked like from the back yard before work started on the new kitchen door

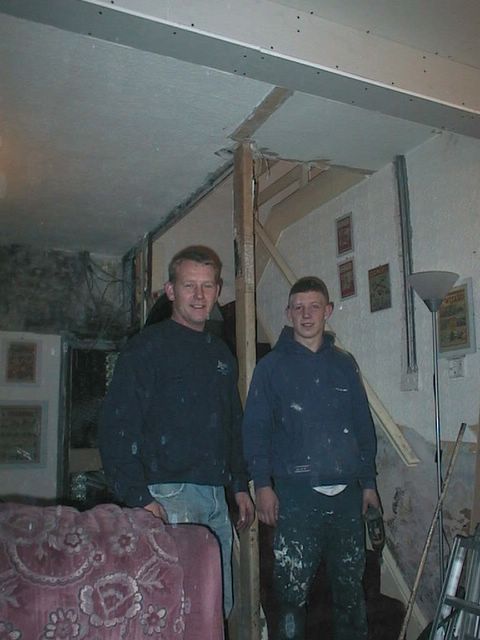
This is Lee and Spud on their last day here .. for now .. they will be back to do the remaining ceiling and the handrails on the stairs.
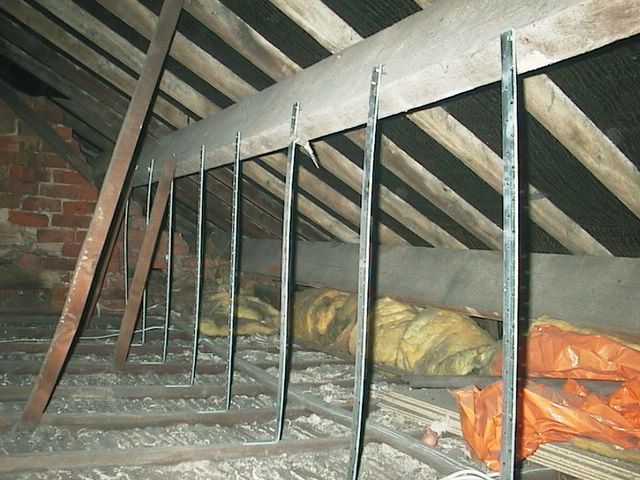
On the last half day (it took 3 and a half days to do everything) they put down insulation (you can see the silver covering of the insulation at the sides) and then boarded between the steel straps. It is uneven because the joists are very uneven and there was electrical cabling that Lee did not want to move to he built over those. I may get this all levelled properly later as it is possible to stand up in the attic and it could be used as a 'reserve' bedroom, although for now it is just going to be used for storage.. I am very pleased with it all.

This is the other side with the steel strapping in place

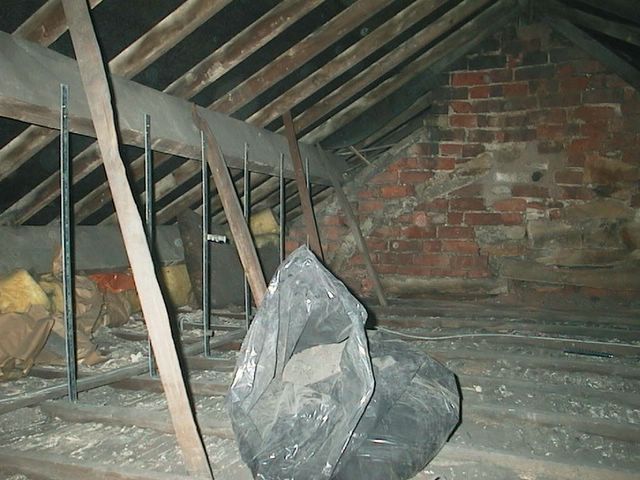
Then Lee put steel bracing on each joist and screwed it to the main roof beams. This ensures that the attic floor is rigid and means we can got rid of the wooden supports you can see.

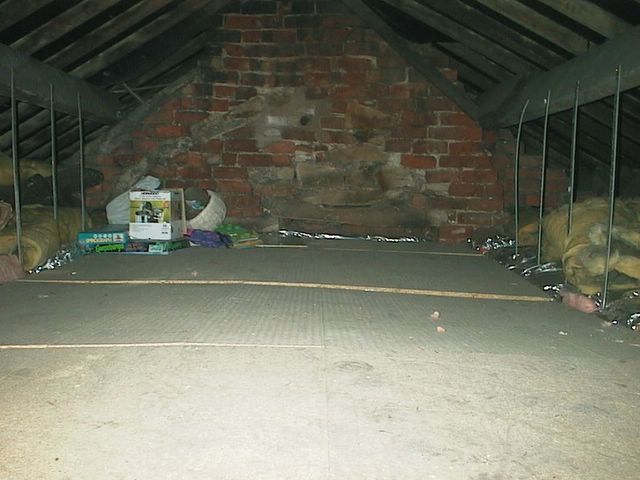
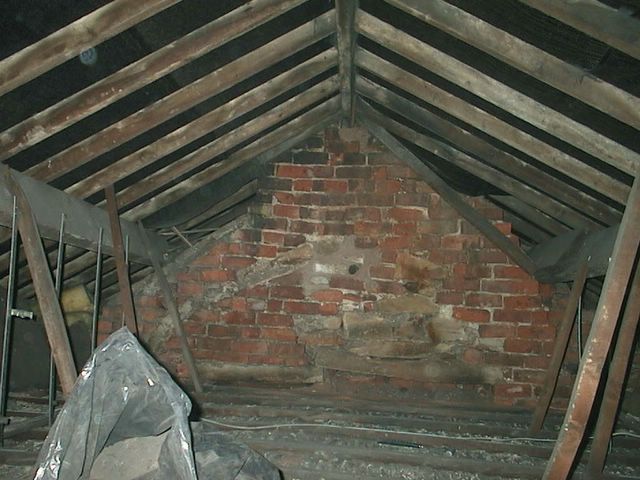
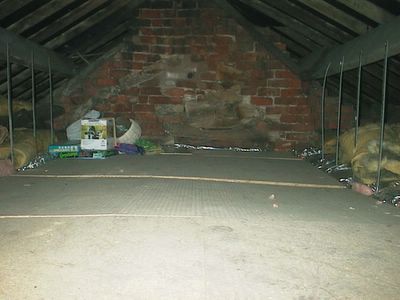
While Lee was doing the downstairs 'Spud' was cleaning out the attic. It took over 6 large bags to get rid of the debris (evidently from earlier roof repairs a long time ago), then Spud used an industrial vacuum cleaner.
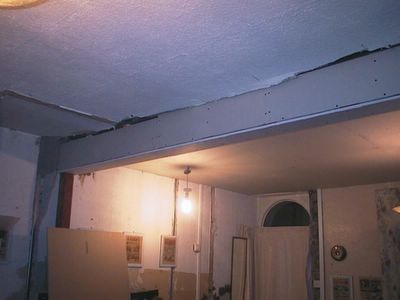
From this direction you can see the steel vertical - which will be plastered over directly - as well as the completed fron ceiling boards and the uncompleted back room ceiling.
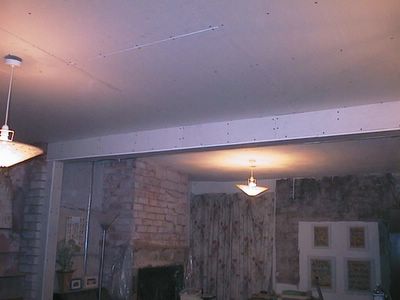
Lee completed boarding the front room ceiling as well as the girder. He put a false vertical in front of the brick pillar to match the steel vertical on the other side but I will probably remove this when Martin comes to plaster.